Building an 8S Freestyle FPV Drone
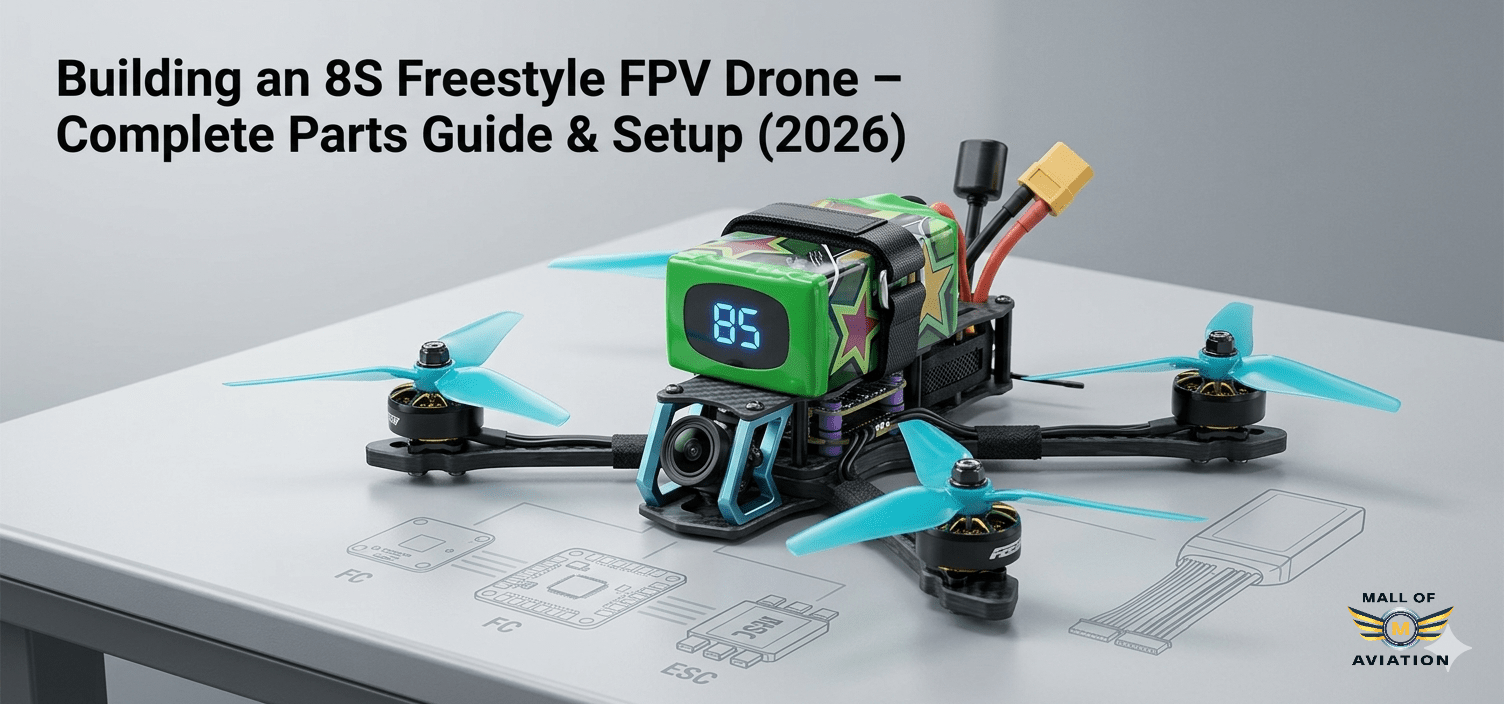
Building an 8S Freestyle FPV Drone – Complete Parts Guide & Setup (2026)
Advanced High-Voltage FPV Build • Mall of Aviation
Quick Summary: Building an 8S freestyle FPV drone is the ultimate step for pilots seeking maximum power and efficiency. This guide covers everything from component selection to Betaflight tuning, ensuring you build a reliable high-voltage machine that delivers incredible performance.
When it comes to raw power and unmatched throttle response, building an 8S freestyle FPV drone is the next frontier for experienced pilots. While 6S systems have dominated the freestyle scene for years, 8S setups offer higher efficiency, lower current draw, and explosive acceleration that transforms your flying experience. However, this is not a project for beginners. It requires careful planning, quality components, and a deep understanding of high-voltage electronics. In this comprehensive 2026 guide, we will walk you through every step of building an 8S freestyle FPV drone, from selecting the right motors to tuning your flight controller for optimal performance.
In This Guide
- Why Build an 8S FPV Drone?
- Advantages vs 6S
- Challenges of 8S Builds
- Battery Selection
- Choosing the Right Charger
- Flight Controller & ESC
- Motor Selection
- Frame Selection
- Wiring & Power System
- Capacitors & Noise Control
- Receiver & FPV System
- Build Process
- Betaflight Setup
- Flight Testing
- Performance Analysis
- Safety Considerations
- Common Mistakes
- Final Thoughts
- FAQ
Why Build an 8S FPV Drone?
The FPV community has seen a steady evolution from 3S to 4S and finally to 6S as the standard for freestyle. Now, building an 8S freestyle FPV drone represents the next logical step for pilots who refuse to settle for less. Higher voltage systems bring several key benefits that directly translate to better flight characteristics.
When you increase the voltage while maintaining similar power output, the current draw decreases. This means your wires, connectors, and ESCs run cooler, and your battery delivers more consistent performance throughout the discharge cycle. For freestyle pilots, this translates to snappier moves, longer flight times under aggressive flying, and a more responsive feel that makes complex tricks easier to execute.
Advantages of 8S vs 6S
Higher Efficiency
One of the most compelling reasons for building an 8S freestyle FPV drone is efficiency. With less current required to produce the same power, your system wastes less energy as heat. This means you can fly harder for longer without overheating components.
More Punch and Acceleration
The throttle response on an 8S system is instantaneous. When you punch out, the drone launches with authority that 6S simply cannot match. This is particularly noticeable in freestyle maneuvers that require rapid altitude changes or quick direction shifts.
Reduced Heat in Wires and Connectors
Lower current means less resistance heating. Your battery leads, ESC wires, and XT90 connectors will stay cooler even during aggressive flying, improving reliability and component lifespan.
Future-Proof Technology
As FPV technology advances, 8S is becoming more accessible. By building an 8S freestyle FPV drone now, you position yourself ahead of the curve and gain experience with high-voltage systems that will become more common in the coming years. For more on the evolution of FPV power systems, check out Oscar Liang’s guide on battery voltage comparisons.
Challenges of 8S Builds
Important Considerations:
- Limited hardware compatibility compared to 6S
- Higher upfront cost for batteries and charger
- Increased electrical noise requiring careful filtering
- Greater risk of damage if components are mismatched
These challenges mean that building an 8S freestyle FPV drone is not recommended for beginners. You need experience with soldering, wiring, and Betaflight tuning to succeed safely.
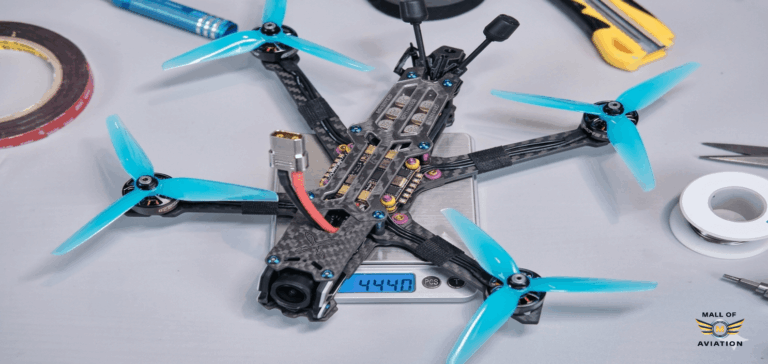
Battery Selection
Choosing the right battery is critical for any build, but especially when building an 8S freestyle FPV drone. You need a pack that delivers consistent voltage under heavy load without sagging excessively.
- Capacity: 8S 1100mAh LiPo is the sweet spot, offering similar energy to a 6S 1500mAh pack
- Weight: Look for packs around 250–260g to maintain a balanced freestyle feel
- Brands: GNB and Tattu are trusted names in high-voltage batteries
Always use batteries rated for at least 100C continuous discharge to handle the demands of high-voltage freestyle flying. For a deeper dive into LiPo technology, visit Race Day Quads’ battery guide.
Choosing the Right Charger
Standard chargers max out at 6S, so you need a dedicated unit for building an 8S freestyle FPV drone. The HOTA T8 is a popular choice, supporting up to 8S with reliable balancing and safety features. Other options include the ISDT K4 or the ToolkitRC M8S. Ensure your charger has sufficient power output to charge 8S packs at a reasonable rate.
Flight Controller & ESC
Recommended Stack:
- DYS F722 AM32 65A 8S stack
- Fully compatible with 8S out of the box
- No modifications or hacks required
When selecting your flight controller and ESC for building an 8S freestyle FPV drone, verify the voltage rating carefully. Many components are only rated for 6S. Look for stacks specifically advertised as 8S-ready. The ESC should have at least 50A continuous rating per motor to handle the high power output.
Motor Selection
Motor KV is arguably the most critical decision when building an 8S freestyle FPV drone. Too high, and you risk overheating or desynchronization. Too low, and you lose the performance advantage.
- Recommended KV: 1600KV to 1700KV for 5-inch freestyle
- Motor Size: 2207 or 2208 are ideal for balancing power and weight
- Stator Height: A taller stator provides better torque for the higher voltage
Popular options include the T-Motor Pacer 2207 1650KV or the XING 2208 1700KV. These motors handle 8S voltage without excessive heat when paired with appropriate props.
Frame Selection
A durable frame is essential when building an 8S freestyle FPV drone. The added power means harder crashes, so your frame must be up to the task. Look for a 5-inch freestyle frame made from high-quality carbon fiber with ample space for the larger battery and electronics. The AxisFlying Manta 5 SE or the Apex 5-inch frames are solid choices that offer durability and good airflow for cooling. For more frame recommendations, see our guide on choosing the best freestyle frames.
Wiring & Power System
Proper wiring is non-negotiable for high-voltage builds. Use 14 AWG silicone wire for the main power leads, as it handles the current efficiently and remains flexible enough for easy routing. XT90 connectors are recommended over XT60 due to the higher voltage. When building an 8S freestyle FPV drone, ensure all solder joints are clean and robust to prevent voltage drops or failures mid-flight.
Capacitors & Noise Control
One of the biggest challenges when building an 8S freestyle FPV drone is managing electrical noise. Higher voltage systems produce more voltage spikes that can interfere with your flight controller and video feed.
- Capacitor: Use a 50V 1000uF low-ESR capacitor soldered directly to the ESC power pads
- Placement: Keep the capacitor leads as short as possible for maximum effectiveness
- Additional filtering: Consider adding a small capacitor on each ESC if you experience video noise
This is one area where cutting corners leads to poor performance or damaged electronics. For advanced filtering techniques, refer to the official Betaflight capacitor guide.
Receiver & FPV System
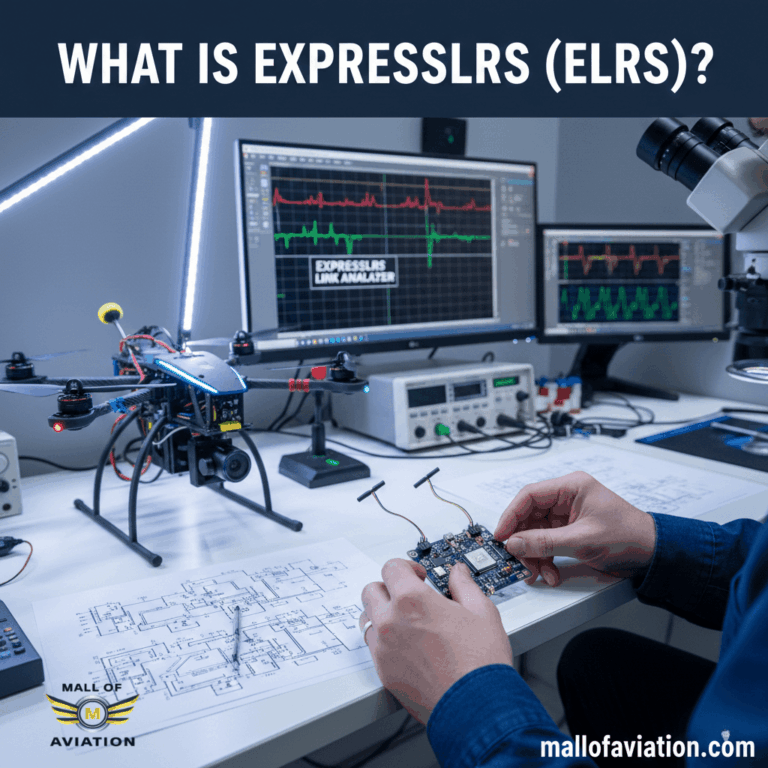
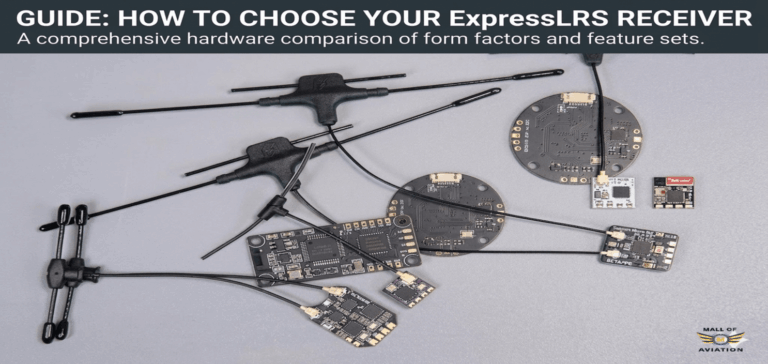
Your receiver choice matters little for voltage, but reliability is key. ExpressLRS (ELRS) is the gold standard for control link. The EP1 or EP2 receivers are compact and provide excellent range. For video, the DJI O3 Air Unit is highly recommended when building an 8S freestyle FPV drone. It offers crystal-clear HD video and integrates easily with most frames. Ensure your FPV system is powered through a voltage regulator if it cannot handle direct 8S input. Learn more about ELRS at ExpressLRS official website.
The Build Process
Building an 8S drone follows the same general steps as a 6S build, but attention to detail is paramount.
- Install motors on the arms and route wires neatly
- Solder ESC connections to the motors, ensuring correct wire order
- Mount the flight controller stack with vibration-damping grommets
- Solder the main battery leads with the capacitor attached
- Install the FPV system and receiver
- Double-check all solder joints and cable routing for shorts
Take your time during assembly. A rushed build invites failures that can be dangerous with 8S power. If you’re new to soldering, check out our FPV soldering guide for beginners.
Betaflight Setup
Once your hardware is ready, configuring Betaflight correctly is essential for building an 8S freestyle FPV drone that flies well.
- Set up your receiver protocol (CRSF for ELRS)
- Configure motor direction and verify with the motors tab
- Adjust voltage scaling so your OSD displays accurate battery readings
- Start with conservative PID values and increase gradually
- Enable dynamic idle to prevent desyncs at low throttle
Pay special attention to filters. 8S systems often require more filtering to clean up noise, but too much filtering adds latency. Find a balance that works for your specific setup.
Flight Testing
The first flight after building an 8S freestyle FPV drone is always exciting and slightly nerve-wracking. Start with a fresh battery and a safe, open area. Perform a short hover to check for unusual vibrations or motor noises. Gradually increase throttle and test responsiveness. Be prepared for significantly more power than you are used to. Many pilots describe the feeling as addictive, with acceleration that demands respect.
Performance Analysis
After tuning, an 8S freestyle drone delivers performance that sets it apart from standard builds. Pilots report faster acceleration, tighter control, and the ability to execute complex freestyle lines with less effort. Efficiency gains often translate to longer flight times despite the higher voltage. However, the true benefit is the sheer fun of flying a machine that responds instantly to every input.
Safety Considerations
Safety Tips for 8S Builds:
- Always use a properly rated capacitor to protect electronics
- Check all solder joints for cold spots or cracks before first flight
- Monitor motor and ESC temperatures after hard flying
- Store and charge 8S batteries in a fire-safe environment
- Never exceed the voltage rating of any component
High-voltage systems leave little room for error. Respect the power and prioritize safety throughout the build and flying process.
Common Mistakes
Avoid these pitfalls when building an 8S freestyle FPV drone:
- Using motors with KV above 1800, leading to overheating and desyncs
- Skipping the capacitor or using an under-rated one
- Using inadequate gauge wire for main power leads
- Failing to verify ESC and FC voltage ratings before installation
- Neglecting to test for noise in the video feed before flying hard
Final Thoughts
Building an 8S freestyle FPV drone is a rewarding project that pushes your skills as a builder and pilot. The performance gains are tangible, offering a flying experience that feels more connected and powerful than any 6S setup. While the cost and complexity are higher, the result is a machine that stands out in both capability and fun factor. If you are an experienced pilot ready to take your freestyle to the next level, this is the build for you.
Frequently Asked Questions
Is 8S better than 6S for freestyle?
8S offers more power and efficiency, but requires more careful component selection and tuning. It is better for experienced pilots seeking maximum performance.
Is building an 8S freestyle FPV drone safe?
Yes, when using quality components rated for 8S and following proper wiring practices. Always use a capacitor and verify voltage ratings.
What battery is best for an 8S build?
An 8S 1100mAh LiPo from a reputable brand like GNB or Tattu is recommended for balancing weight and flight time.
Do I need a special charger for 8S?
Yes. Standard chargers only support up to 6S. Look for chargers like the HOTA T8 or ISDT K4 that explicitly support 8S.
Can a beginner build an 8S drone?
Not recommended. This project requires solid soldering skills, experience with Betaflight, and an understanding of high-voltage electronics.
What KV motors should I use for 8S?
1600KV to 1700KV is the ideal range for 5-inch freestyle builds. Higher KV risks overheating and ESC desynchronization.
Why is a capacitor important for 8S?
8S systems generate significant voltage spikes. A 50V 1000uF capacitor smooths these spikes, protecting your electronics and reducing video noise.
Is building an 8S freestyle FPV drone expensive?
Yes, it costs more than a comparable 6S build due to specialized components, batteries, and charger requirements.
Does 8S improve flight time?
Due to higher efficiency, you can achieve slightly longer flight times compared to 6S with similar energy capacity, especially during aggressive flying.
Is 8S the future of FPV?
It is gaining traction among advanced pilots. As components become more affordable and accessible, 8S may become a standard option for high-performance builds.